This project was submitted by one of our readers, just like you.
Coffee Filter Flowers
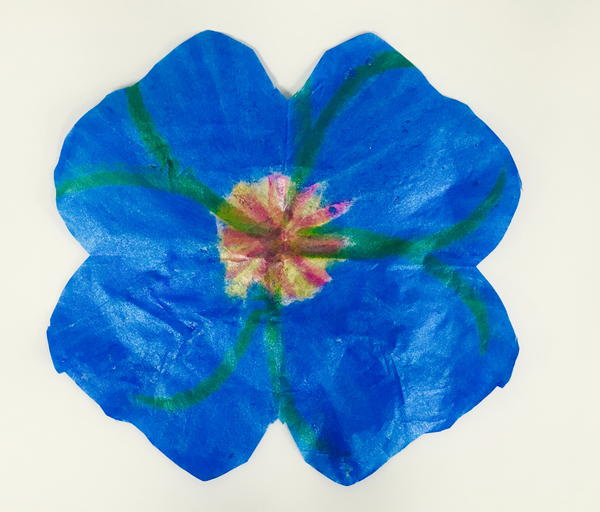
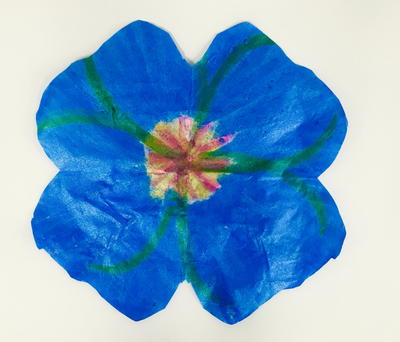
"This colorful springtime garden was made using coffee filters and Kwik Stix, no-mess, solid tempera paint sticks. A great classroom or family activity, the whole project takes between 30 - 60 minutes to complete."
Time to CompleteUnder an hour
MaterialsPaper Crafts
Age GroupElementary School
Materials List
- Kwik Stix solid tempera paints in assorted colors
- Coffee filters
- White cardboard
- Scissors
- Scotch tape
- Staples
Instructions:
-
Paint one side of the coffee filter with Kwik Stix. Allow 90 seconds to dry and then paint the other side.
-
After the coffee filter has dried, fold the painted coffee filter in fourths.
-
Trim the coffee filter in the shape of the flower. (ie: round for roses, pointed for daisies or sunflowers, waves for others.)
-
Unfold and you have your basic flower.
-
Add colorful pieces from the trimmed edges to the center of the flower, if you like.
-
Gather flower from center to create a 3D effect.
-
Staple back of flower to hold shape and secure it with a piece of scotch tape.
-
Color white cardboard with Kwik Stix. We added basic elements, grass, sky and a round sun. Use your imagination but keep it simple.
-
Arrange flowers on board. When you are happy with the arrangement, glue flowers in place.
-
Add flourishes by drawing and using trimmed pieces from the coffee filters. We added rays of sun, a ladybug and butterfly. Be Creative!
NotesTips for a Successful Project:
Put a piece of paper under the coffee filter when painting so you can paint to the edge.
Allow each side of the filter to dry before folding and trimming.
BE CREATIVE!
Read NextReally Big Bubble Maker


