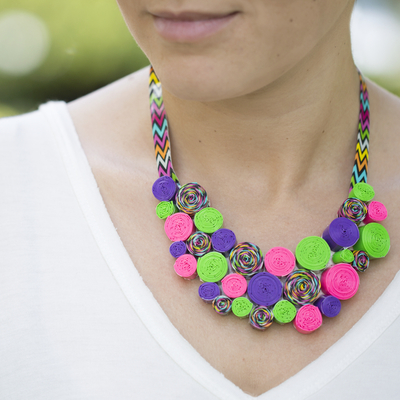
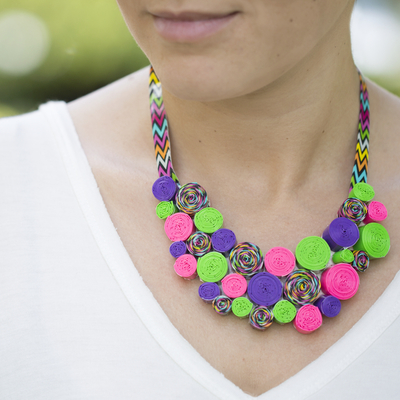
Duck Tape DIY Necklace
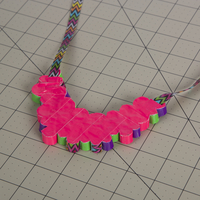
Trendy necklaces are all the rage among fashion accessories, and your kids can use them as inspiration for a fun duct tape craft. They can choose any colors or patterns for their Duck Tape DIY Necklace. This duct tape project is bound to please your fashion-loving teen because it's such a unique accessory. The DIY necklace tutorial does a great job demonstrating how to make a necklace with helpful photos. The end result is so cute, and this DIY necklace would be the perfect accessory to top off a favorite shirt or dress.
Materials:
- Duck Tape®
- Scissors
- Crafting board
Find this craft and many more duct tape crafts in our collection: What to Make with Duct Tape: 66 Easy Duct Tape Crafts for Kids!
Instructions:
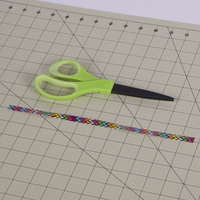
- Make a strip of tape that is about 11 in. long and a quarter of an inch wide.
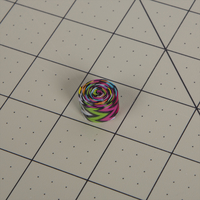
- Turn your strip over so the sticky side is facing up. Roll is strip onto itself forming a swirl.
- Place a small circle on the back of your piece from step 2.
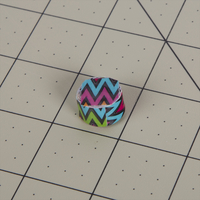
- Repeat step 1-3 for other swirls using different colors and sizes.
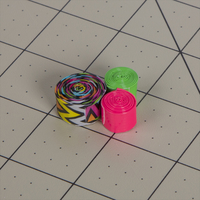
- Using small strips of tape, tape all of your swirl pieces together.
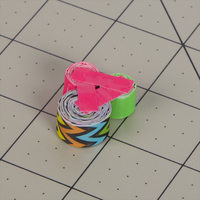
- Repeat steps 1-5 until your necklace looks the way you want it to.
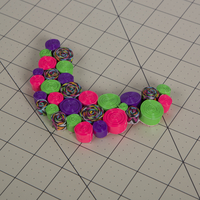
- Make 2 double sided strips of tape that are long enough to fit around your neck.
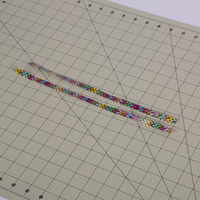
- Attach the double sided strips of tape to your piece from step 6.
Read NextRecycled Overalls DIY Apron

