Under the Sea Artwork
With this free kids' craft, your little ones will love making this easy DIY art project part of their world!
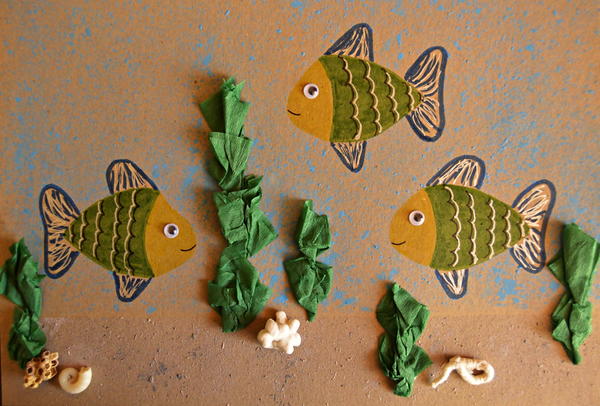
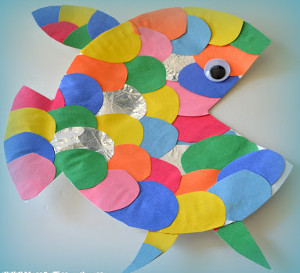
The seaweed may always be greener in somebody else's lake, but your kids are sure to love making their very own Under the Sea Artwork that will transport them under the ocean's surface. This fun and imaginative free kids' craft is perfect for little ones who long for their own set of fins by letting them create a cool underwater scene with their favorite fish and sea creatures. This easy painting craft is great for kids who love cool art projects and is ideal for classrooms, where each kid can create their own unique fish.
Your little guppies will love creating fish, seahorses, seaweed, and all things ocean with this DIY art project. And if your family takes an annual summer trip to the beach, this free kids' craft lets kids decorate their mini murals with seashells and other beach memories. This craft for kids is also an awesome rainy day activity and will make kids forget they're stuck indoors. With this summer craft idea, you can't go wrong!
Estimated CostUnder $10
Time to CompleteIn an evening
MaterialsMixed Media, Paint, Paper, Other
Primary TechniqueGeneral Crafts

SeasonSummer
Age GroupToddlers, Preschool & Kindergarten, Elementary School
Project TypeMake a Project
Materials List
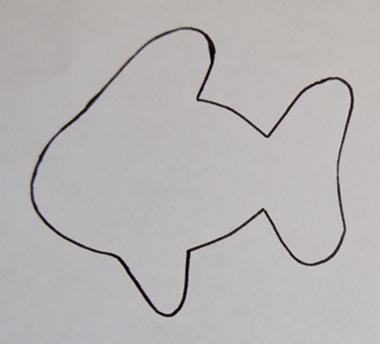
- Printout of provided pattern for the fish - Click to download!
- A4 sized brown cardstock
- A4 sized printer paper
- Leftover piece of cardstock, large enough to trace three fish on
- Three 5mm wiggle eyes
- Dark green crepe paper
- 3 or 4 small shells or pieces of coral
- Acrylic paint in the following three colors: sandy brown, royal blue, and grey
- Dark green, turquoise blue, and yellow felt tip pens
- Artline 210 Fineliner black pen
- Pilot silver marker pen
- Prestik or sticky tack
- Pritt liquid project glue
- Three old toothbrushes
- Standard scissors
- Pencil
- Three small plastic containers
- Newspaper to protect the working area
Instructions
-
Trace fish from free pattern sheet. Pictured below.
-
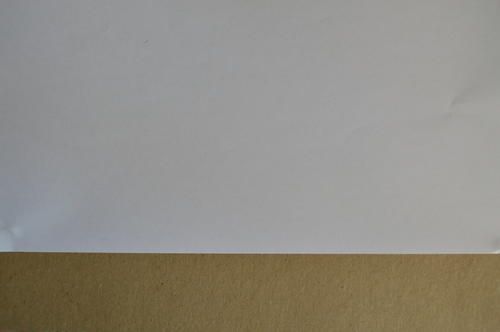
Use the printer paper and a bit of Prestik to cover ¾ of the brown cardstock.
-
Add sandy brown paint to one container and grey to the second. If necessary, add a little bit of water to the paint.
-
Dip a toothbrush in the sandy brown paint. Hold the brush close to the uncovered part of the brown cardstock and brush over the bristles of the toothbrush with your fingers. Add a splatter design to the whole part of the cardstock that has been left uncovered.
-
To complete the sand at the bottom of the sea, repeat step 3 using a second toothbrush and the grey paint.
-
Allow paint to dry before removing the printer paper and Prestik from the cardstock.
-
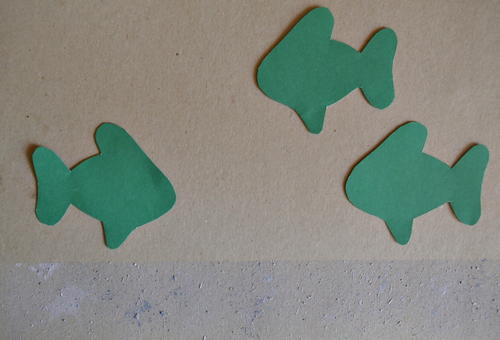
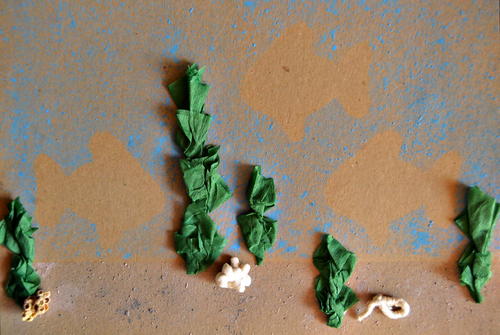
Cut out the fish from the pattern sheet. Trace three fish onto the leftover piece of cardstock and cut them out.
-
Use small pieces of Prestik to secure the fishes to the top of the brown cardstock.
-
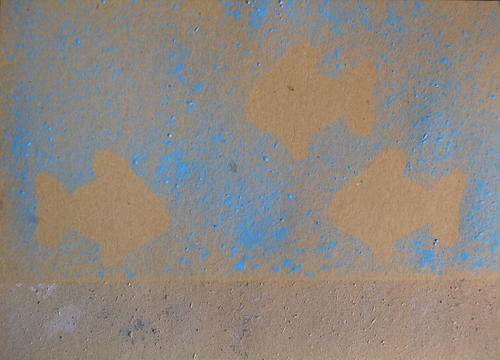
Use the printer paper and a bit of Prestik to cover the splattered sand. Add royal blue paint to the third container. Again, if necessary, add a little bit of water to the paint.
-
Using the third toothbrush, add splattered blue paint to the top of the cardstock to add the water around the fish.
-
Remove the printer paper and Prestik and allow to dry.
-
Cut 12 small squares from the green crepe paper. Fold the first square in half, and then in half again. Crumple the small folded square to form an uneven diamond shape and glue it to the cardstock. Fold another square in the same way to make a crumpled diamond and glue it above the first. Continue adding crumpled diamonds to complete the strands of seaweed.
-
Glue the shells or pieces of coral to the sandy bottom of the sea.
-
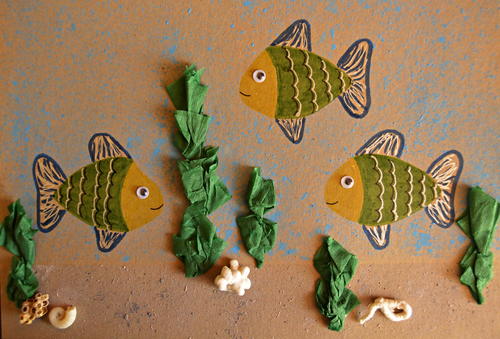
Use the felt-tip pens to color the fish.
-
Add detail to the fish with the black and silver pens.
-
Glue a wiggle eye on each fish and use the black pen to add a mouth.
-
Stand back and let your little ones admire their artisitic abilities!
What do your kids love about the ocean? Let us know below in the comments!
Read NextPainted Paper Spring Butterflies

