Perky Penguin Gift Bag
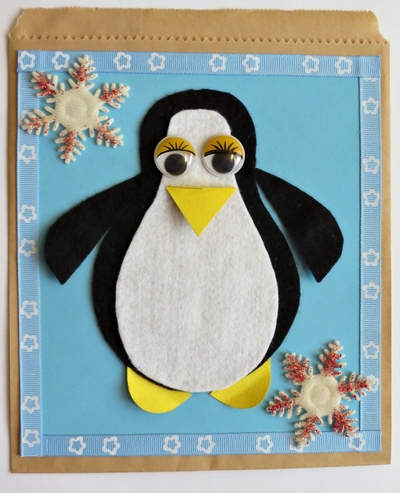
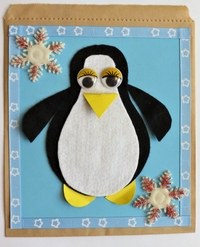
Celebrate the cold winter months with this adorable Perky Penguin Gift Bag. Help the kids make penguins to adorn simple DIY gift bags, and then fill the bag with small treats. This easy-to-follow tutorial will show you how to make a gift bag. Anyone who receives this festive gift bag is sure to love it. Penguins are popular for kids' animal crafts because of their funny little faces and easy to create body shapes. This little guy has all the fun details that makes this a truly special bag to give small treats to someone special.

Materials:
- Pattern sheet
- 8.4” x 7.1” brown paper bag
- 7.4” x 6.6” blue cardstock
- Black and white felt
- Yellow cardstock
- One pair of 20mm googly eyes
- 10mm wide light blue ribbon patterned ribbon
- Two felt snowflakes
- Red glitter
- Modge Podge
- 3D self-adhesive foam squares
- Thin paintbrush
- Scissors
- Pencil
- Ruler
- White colored pencil
- Quick-drying craft glue
Instructions:
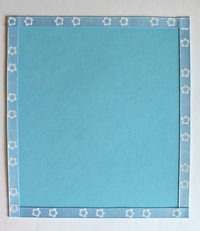
- Frame the blue cardstock with the ribbon. Center and glue the blue cardstock to the front of the bag.
- Using the pattern sheet, trace each body part as follows: Use the white colored pencil to trace body and two wings onto the black felt. Trace body part 2 onto the white felt. Trace the beak and two feet onto yellow cardstock.
- Cut out all the pattern pieces.
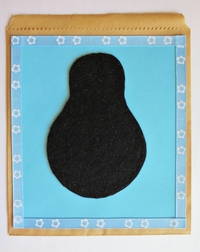
- Center and glue the black part of the penguin’s body to the bag.
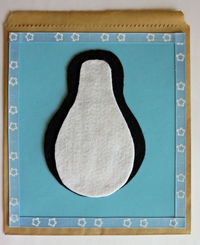
- Glue the white body piece on top of the black body.
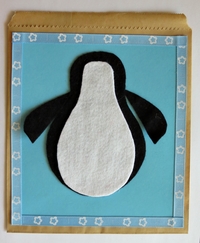
- Use 3D self-adhesive foam squares at the bottom of the wings, and add glue to the tip of the wings. Glue the wings in place.
- Glue wiggle eyes in place.
- Add 3D self-adhesive foam squares to the bottom part of the beak, and a drop of glue to the fold of the beak. Glue it in place.
Read NextHow To Make Fun Pinecone Flowers

