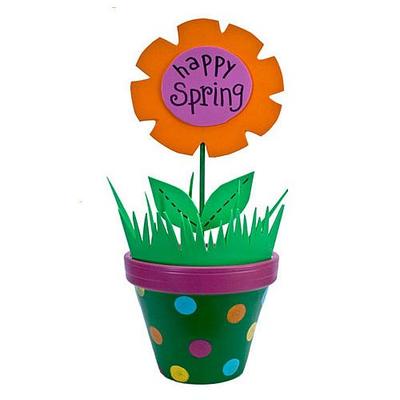
Happy Spring Terra Cotta Pot
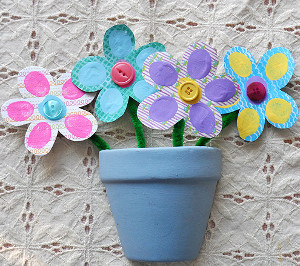
Spring has sprung, and it's time to celebrate it! Your child can make a Happy Spring Terra Cotta Pot to welcome the changing of the seasons. This spring craft tutorial is easy to follow, and it uses basic crafting supplies. It's such a unique craft idea for kids because when it's finished, this flower pot craft will brighten up any room. It would definitely be a great room decoration idea for tweens and teens. There's no better way to capture the essence of spring other than to get started on a fun spring craft!
Materials:
- Patio Paint OutdoorTM Blue Bahama (DCP63)
- Patio Paint OutdoorTM Fiesta Yellow (DCP28)
- Patio Paint OutdoorTM Fuchsia (DCP42)
- Patio Paint OutdoorTM Mistletoe Green (DCP46)
- Patio Paint OutdoorTM Tiger Lily Orange (DCP36)
- Water container
- Palette or plastic plate
- Paper towels
- Scissors
- Terra cotta pot
- Tracing & transfer paper
- Round sponge pouncer (Americana Dual Sided Pouncers - DABK19)
- Low-temp glue gun and glue stick
- 18" dowel
- Fun Foam sheets in orange, pink, bright green
- Styrofoam (to fit inside pot)
- Paper shreds or tissue
Instructions:
- Basecoat the inside the pot and rim Fuchsia; the remainder of the pot and dowel, Mistletoe Green.
- Use the sponge pouncer to stamp random dots on the Mistletoe Green area with Fiesta Yellow, Fuchsia, Tiger Lily Orange, and Blue Bahama.
- Trace patterns onto foam sheets. Cut flower shape from orange Fun Foam; circle from pink Fun Foam; and grass and leaves from bright green Fun Foam.
- Press Styrofoam inside pot. Secure with glue if necessary.
- Position and press dowel into Styrofoam.
- Position and adhere flower, circle, and leaves onto dowel.
- Poke pieces of grass into foam and insert grass section.
- Fill open areas in pot with paper shreds or tissue.
Read NextCheerful Handprint Flowers Garden


