Color Eruption Jars
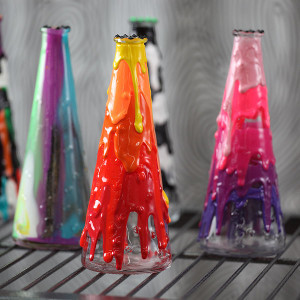
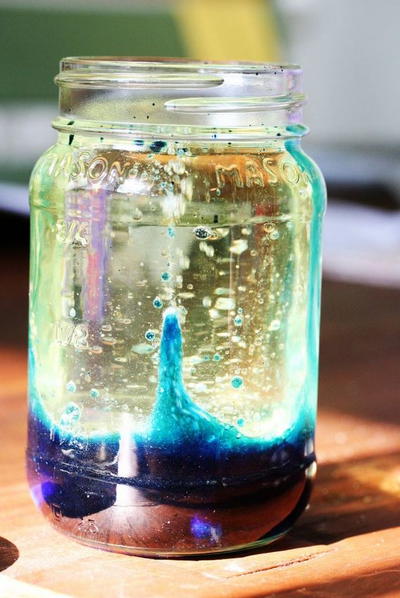
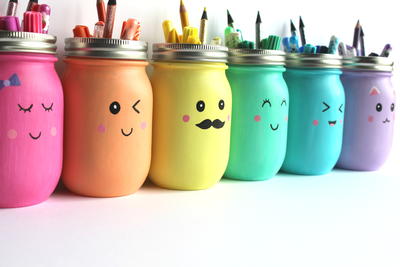
Add a burst of color to any room with surprisingly simple decorative crafts. Color Eruption Jars can be made by little hands, which is shocking, considering how amazing they look. These simple crafts for kids can also be completed in just minutes. All you have to do is wait for them to dry, and then you can display your mason jar crafts for all to see. Use any type of recycled container that you have to bring this stunning piece of art into your home.

Materials:
- Puffy® Paint Value Packs
- Glass bottles/mason jars
-
Wax paper
Instructions:
1. Wash and dry the bottles. Cover work area with wax paper.
2. Choose four colors in the color same family such as dark red, red, orange and yellow.
3. Take the darkest color and squeeze a generous amount around the bottle, about a third of the way up from the bottom of the bottle.
4. Repeat with the next color, about ½” above the first color. Note: You want to squeeze enough paint around the bottle to get a “dripping” effect.
5. Continue until you’ve layered all the colors.
6. Add black or white dots around the top ridge of bottle. Let dry completely.
7. Repeat with other color schemes on other bottles.
Variations: Use black and white and a little bit of color between the layers. You can also add the paint inside the bottle for a marbled look.
Read NextCotton Candy Puffy Paint Craft

