Easy Duct Tape Pencil Holder
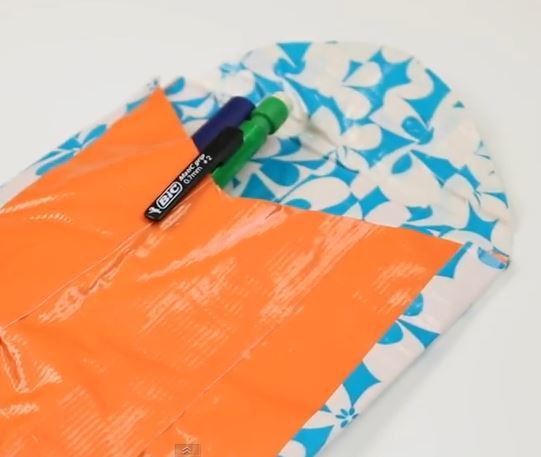
If your little ones are constantly losing their school supplies, we have the perfect organizing idea. With this Easy Duct Tape Pencil Holder, your kids can keep track of their pens and pencils and make a cool DIY pencil case they'll love. This exclusive video tutorial is easy to follow, and kids can easily customize their pencil holder with their favorite duct tape patterns and colors. Duct tape crafts are always a blast, but when you combine fun with function, you just can't lose!
Estimated CostUnder $10
Time to CompleteUnder an hour

Project TypeMake a Project
Materials List
- Duct tape in two colors and one skinny duct tape
- Scissors
Easy Duct Tape Pencil Holder
Pencil Holder Instructions
-
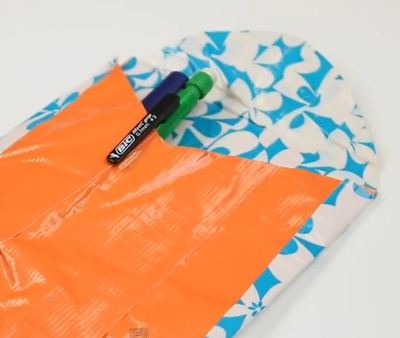
Take your normal duct tape and cut a piece about the lenght of a pencil or pen.
-
Repeat that two more times, attaching each new piece to the newest piece you cut off and slightly overlapping it.
-
Repeat steps 1-2, but do it on the adhesive side of your duct tape so that it is not sticky.
-
Take your skinny duct tape, and put it over the duct tape sheet you just made leaving about 2-3 inches off of the sleeve.
-
Repeat this with the skinny duct tape all the way to the end, overlapping slightly, and repeat that on the other side to cover up the sticky parts.
-
Trim the skinny duct tape that is not on the duct tape sleeve in a round or pointed shape.
-
Repeat steps 1-3 to make your second sleeve.
-
Cut a V-shape out of the top of your new pencil case side so you can see your pens and pencils.
-
Using your skinny tape, tape around the outside edge, folding over the extra sticky part to connect the sides.
Read NextPVC Pipe Desk Organizer

