Christmas Tree Duct Tape Craft
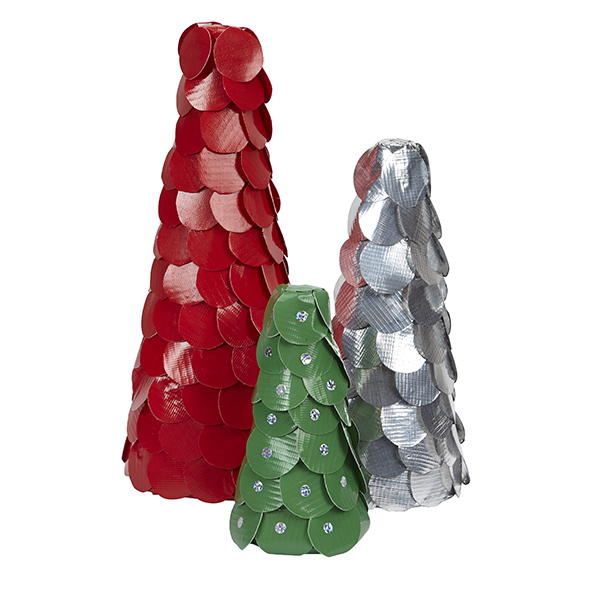
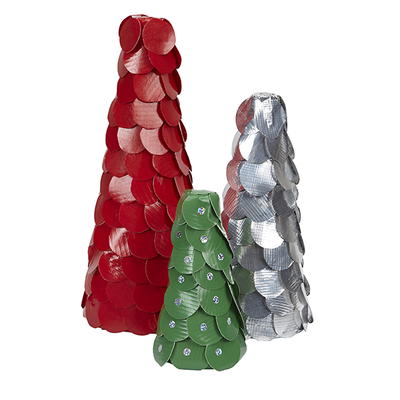
Christmas tree crafts are always fun for the kids, and they can’t get enough of those duct tape crafts either. This Christmas Tree Duct Tape Craft puts those two craft types together to make the ultimate kids Christmas craft. These step-by-step instructions will make the kids craft super easy and a fun way to spend the Christmas holidays. The only technique to it is cutting and sticking tape to other tape or craft foam. It's that easy! These little Christmas trees can even be given as gifts or used as centerpieces for your Christmas meal. The kids can place them in their rooms for some Christmas festivity too. The possibilities are endless with duct tape crafts like this, and finally, they can use duct tape to make Christmas more festive and fun.
Estimated Cost$21-$30
Time to CompleteIn an evening
MaterialsMixed Media
Primary TechniqueMixed Media

HolidayChristmas
Age GroupPreschool & Kindergarten, Elementary School, Pre-Teens
Project TypeMake a Project
Materials List
- Duck Tape
- Duck Tape Crafting Tape
- Scissors
- Foam Cone(s)
- Crafting Board
Christmas Tree Duct Tape Craft
Instructions
-
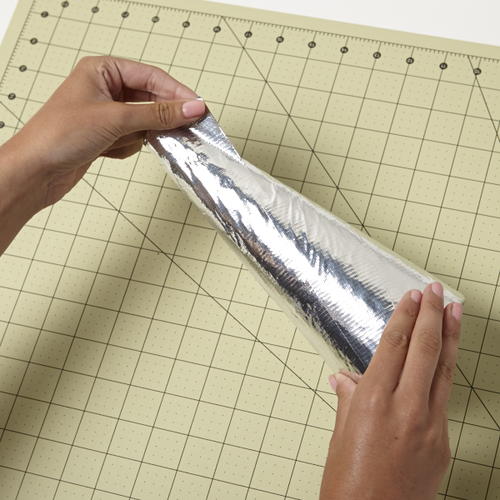
Cover a foam cone with Duck Tape®. Set this aside.
-
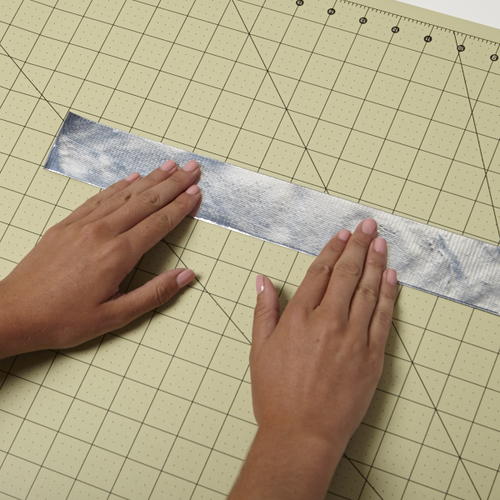
Make a double sided strip of Duck Tape®.
-
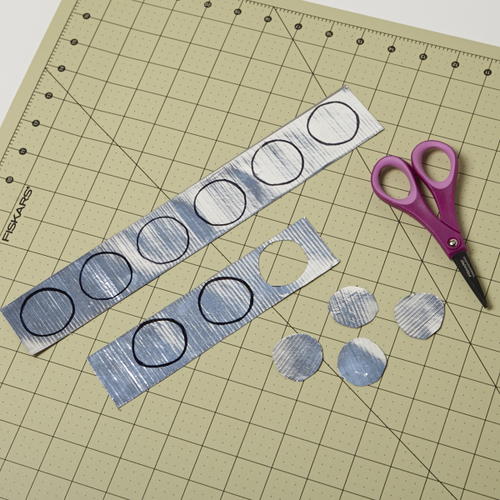
Trace and cut out circles from your Duck Tape® strip.
-
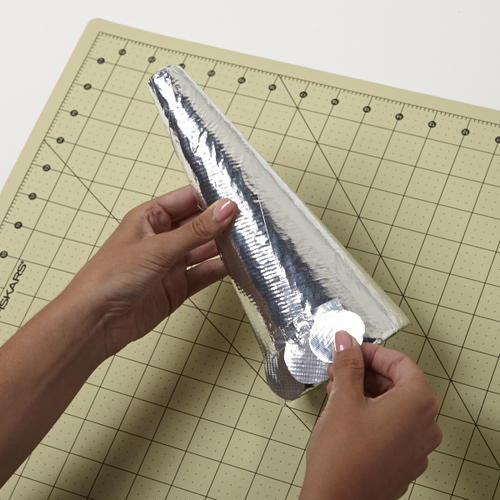
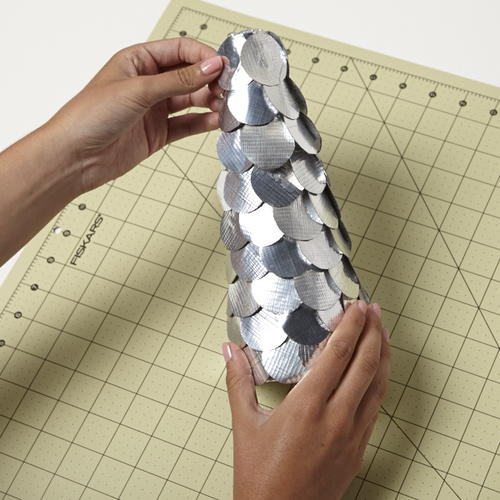
Using a small strip of Duck Tape® on the top of each circle, place them on your cone starting at the bottom.
-
Repeat these steps until your cone is entirely covered with your circles.
-
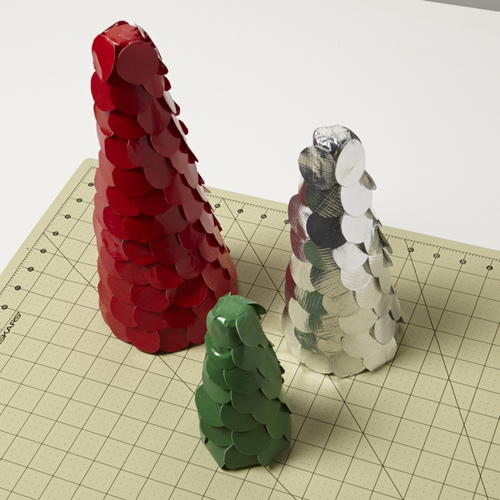
Repeat these steps to make more trees using different size and shaped cone.
-
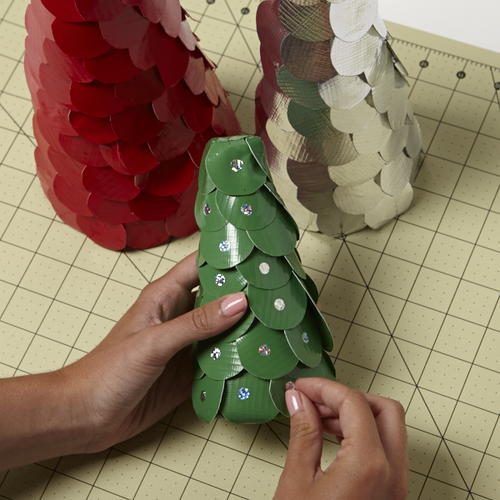
Add ornaments to your trees with Duck Prism® Crafting Tapes. - See more at: http://duckbrand.com/craft-decor/activities/tree-decor#sthash.A9MrsOLQ.dpuf
Read NextItty Bitty Snowman Ornament

