This project was submitted by one of our readers, just like you.
Cute Felt Cat Craft

Cute Felt Cat Craft
"Do you have a cat lover in your life? This adorable Felt Cat Craft is the perfect activity to enjoy with any feline enthusiast! There are countless creative ways to use this felt cat. Kids can incorporate their new furry friend into storytelling, imaginative play, or even as a prop for their dollhouse. This is a really light-hearted and easy craft that you can make with your kids. Older kids who are comfortable using a needle and scissors could also make this on their own. Follow our easy step-by-step instructions and before you know it your kids will be purring around the house with their darling felt cat!"
Primary TechniqueFabric Crafts

Materials List
- Felt fabric
- A pencil or marker
- A pair of scissors
- Needle
- Matching thread
- Cotton
Instructions
-
Select a felt for the base patterns (base, head, body, and tail) of the cat; select pink felt for the inner ear parts and 1 or 2 different colored felts for the spots. Trace the provided patterns on the selected felt fabrics and cut them out nicely using scissors.
-
Take the head, body, and any one of the tail cutouts. Place a spot cutout on the tip of the tail. Place two spot cutouts on the body and one spot cutout on the head. Prepare a needle with thread matching the spots.
-
Work appliqué stitches along the inner side of the tail spot and place the plain tail cutout on a flat surface.
-
Place the plain tail cutout under the stitched one and stitch both tail cutouts around their sides. Work flat blanket stitches to join them.
-
Stitch the spot cutouts into the positions for the head and body pattern. Stitch the inner ear cutouts on the ear parts of the head cutout as well.
-
Place the head pattern on the top side of the body pattern, making sure to slightly overlap both patterns. Prepare a needle with thread matching the base felt.
-
Stitch the head and body patterns along their overlapped parts with appliqué stitches. Use a marker to draw the eyes, nose, and mouth of the cat.
-
Work satin stitches to fill the marked eyes, nose, and mouth.
-
Place the base cutout on a flat surface and place the inner part of the tail on a side of the base piece.
-
Place the front body pattern on top of the base pattern.
-
Use matching thread to stitch around the sides of the front and base pieces.
-
Make sure to keep a small opening to stuff the felt cat. Use cotton for stuffing.
-
Once the stuffing is done, stitch the opening to secure the stuffing. Tie a knot or 2 and cut off extra thread.

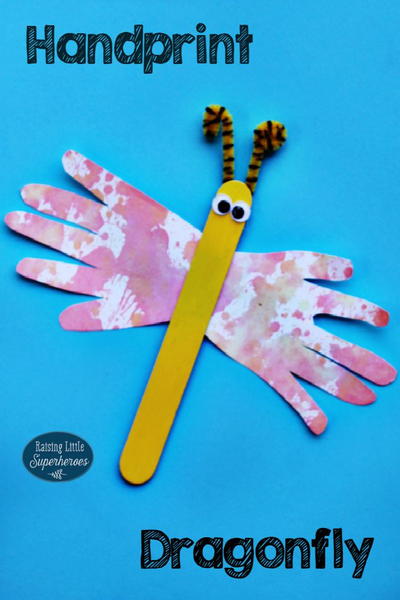
Read NextEasy Handprint Dragonfly Craft