Rainbow Wrapped Headband
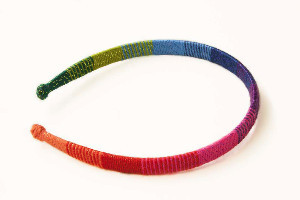
The ombre look just got a colorful upgrade with this Rainbow Wrapped Headband. Kids can easily update their style with this simple tutorial. Not only does the Rainbow Wrapped Headband look adorable; it's extra-comfortable, too! Kids can customize this DIY hair accessory by choosing any set of colors they want, or they can copy the rainbow sequence in the tutorial below. No matter what they choose to do, the Rainbow Wrapped Headband is sure to become their new favorite accessory.

Materials:
- 1 package 601-660 Bonbons Yarn: Celebrate
- Headband
- Craft glue
Instructions:
- Apply a small amount of glue to a 1 in. (2.5 cm) area at one end of headband and wrap with one strand of emerald green yarn for about 1 in. (2.5 cm). Trim beginning end of yarn, add a tiny additional bit of glue to secure the beginning end of yarn, and allow to dry.
- Apply glue to the next 1 in. (2.5 cm) section of Headband. Wrap this section with the strand of emerald green AND a strand of pea green.
- Continue applying glue and wrapping 1 in. (2.5 cm) sections of the headband in a rainbow color sequence, or in the color sequence of your choice.As you continue to wrap the headband, you can glue yarn ends in place or you can hide the yarn ends by wrapping over them. Just do whichever is easier for you! The headband should be wrapped with yarn in 15 sections, each about 1 in. (2.5 cm).
- Allow headband to dry completely.
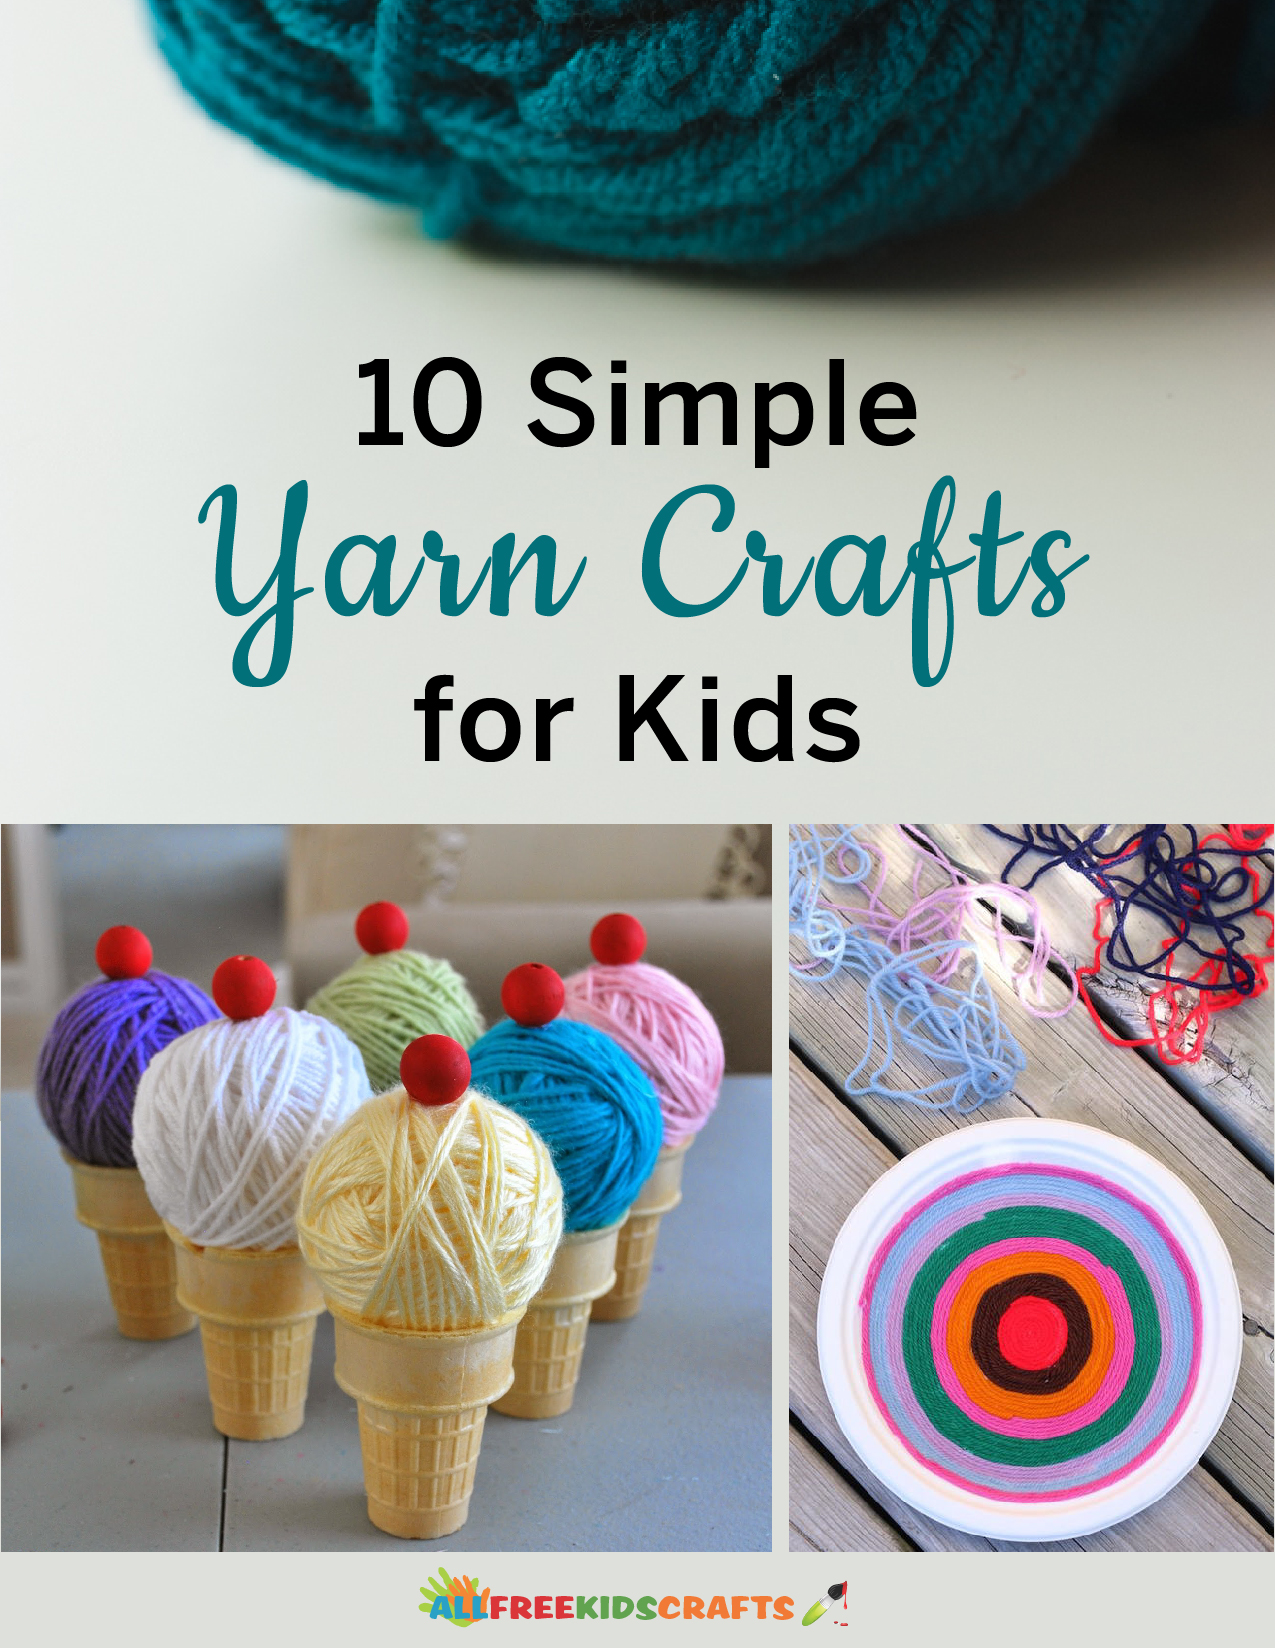
Think this craft is cool? In our free eBook 10 Simple Yarn Crafts for Kids, you’ll find even more quirky crafts made from yarn that you and the kids can make together or with friends and siblings.
Read NextCutie Clown DIY Costume

