Monogram Throw Pillow
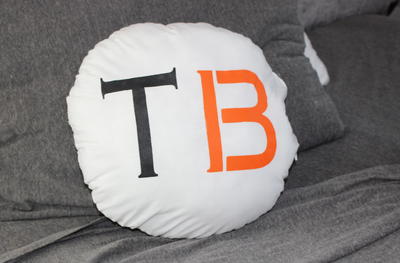
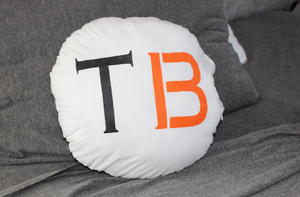 Monograms are a simple way to personalize anything you own; and, you can choose your favorite colors and your initials design. It’s so easy to make a Monogram Throw Pillow with these step-by-step instructions and video. You will quickly learn how to monogram a pillow and soon you will be monogramming everything! However, we strongly suggest you only monogram things you own. Start your cute teen room decorating ideas with a DIY monogram pillow. Your room will soon be completely personalized to your unique tastes. Have fun expressing your creativity with your DIY room decor!
Materials:
- Round white pillow
- Letter Stencils
- Repositionable spray adhesive
- 2 colors of fabric paint
- Pouncers
Find this craft and more in our FREE eBook: 14 Cool Room Ideas: DIY Room Decor for Teens!
Instructions:
1. Remove the stuffing from the pillow case.
2. Pick your initials out of the letter stencils.
3. Spray the back of them with repositionable spray adhesive from about 8 inches above.
4. Position the sticky stencils down on the pillowcase where you think they should go.
5. Using the pouncers fill in the letters with 2 different colors.
6. Remove the stencils and re-stuff the pillow.
Read NextCrayon Explosion Lantern

