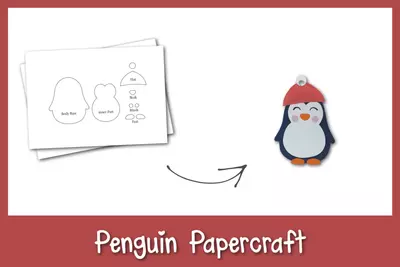
Penguin Papercraft

"Using this premade Penguin Papercraft template your kids can design and make their own penguins. This is the perfect craft to go along with a family trip to the zoo or to create their own stories with their own penguins. Using basic craft supplies, the provided template, and a little imagination your children can plan, color, and create as many penguins as they wish. With their creations in hand, they can write and tell their own penguin adventure stories."
Primary TechniquePaper Crafts

Materials List
- Colored Construction paper
- Cardstock paper
- Sharpie
- Craft Glue
- Pencil
- Scissors
Instructions
-
Select black or dark blue, white or cream, orange, pink and red colored craft papers for the penguin papercraft puppet.
-
Trace the body base on the black paper, the inner base on white paper, teh beak and feet on orange paper, the blush on pink paper and trace the hat patterns on colored construction papers of your choice.
-
Cut out the traced patterns nicely.
-
Attach the inner base in the middle of the body base cut out.
-
Attach the small round cut out (pompom) on the top pointy end of the hat cut out.
-
Attach the feet cutouts on the bottom side of the body pattern.
-
Attach the blush and the beak cutouts on the head part of the inner base pattern.
-
Use a sharpie to draw the eyes of the papercraft penguin figure.
-
Attach the hat on the top side of the head, overlapping the head slightly from the top side.
-
Prepare a piece of cardstock paper and create a cylinder-shaped piece with it. The height of the roll should be less than the height of the papercraft penguin.
-
Attach the papercraft roll on the backside of the papercrft penguin, near the bottom side, The roll should be positioned in a way to make the penguin stand.
-
Check if the papercraft penguin can stand with the roll attached and the craft will be complete.
