Rubber Ducky Layered Artwork
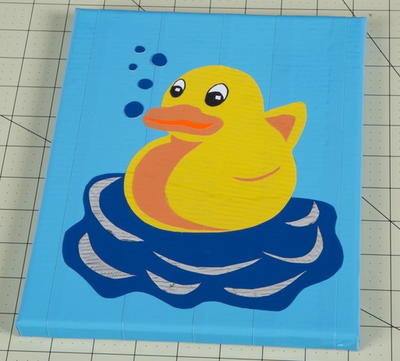
Let your little artists take their sketches to the next level using duct tape with this DIY craft for kids.

Transform your child's bathroom from blah to whimsical with this adorable Rubber Ducky Layered Artwork made from duct tape. Your kids will love creating all kinds of artwork with this free kids' craft. This easy duct tape craft is budget-friendly, meaning your kids can decorate every room in the house with their art.
This easy-to-follow guide teaches your kids everything they need to know about this duct tape craft, from decorating their blank canvas to adding the finishing touches. This DIY craft is a fantastic rainy day activity and is a great way for kids who love sketching to take their drawings to the next level. With this craft for kids, your little ones can play designer and give your walls a total makeover.
Estimated CostUnder $10
Time to CompleteUnder an hour
Primary TechniqueGeneral Crafts

Age GroupElementary School, Pre-Teens
Project TypeMake a Project
Materials List
- Duck Tape® Sheets
- Pen
- Paper
- Scissors or Craft Knife
- Canvas or Poster Board
- Crafting Board
Instructions:
-
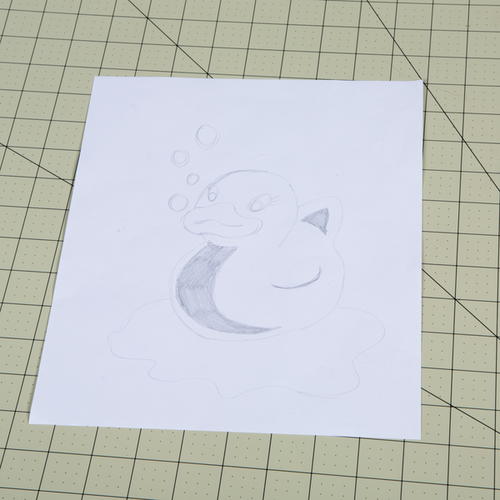
Draw your picture on a piece of paper. If you need a reference, you can make 2 copies.
-
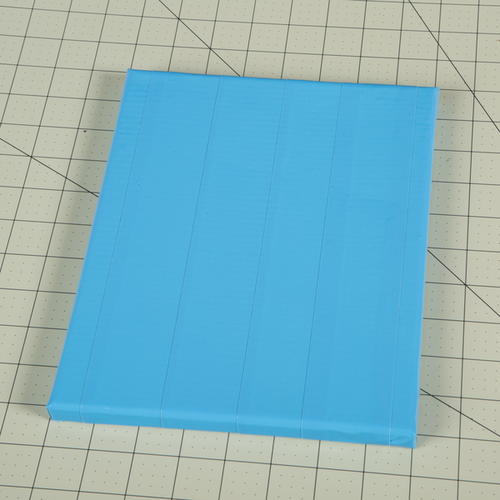
Cover a poster board or canvas with your base color or print.
-
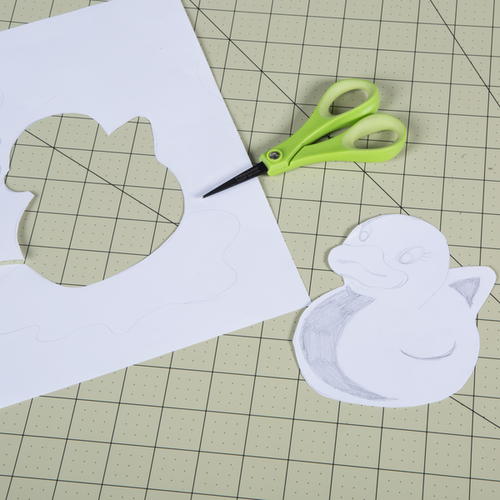
Cut out the bigger pieces of your picture first.
-
Trace and cut out the first piece on a Duck Tape® Sheet.
-
Cut out any other pieces that will be your bottom layer for your artwork.
-
Trace and cut out these pieces.
-
Place your bottom layer down first on your canvas or poster board.
-
Place your second layer on top of the piece you made in step 7.
-
Cut out the third layer pieces from your art in step 3.
-
Trace, cut out and place these pieces on your canvas or poster board.
-
Repeat this technique for the eyes.
-
Repeat this technique to make details in the water.
-
Add more details to your artwork if desired.
What do your kids love making with Duck Tape®? Be sure to leave a comment below!


