DIY Stenciled Shorts
By: Tanner Bell and Courtney Chambers for AllFreeKidsCrafts.com
DIY Stenciled Shorts
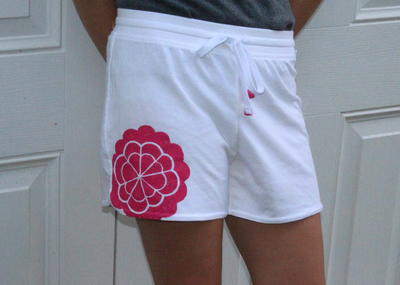
White shorts are so last season...take your clothes up a level with this DIY Stenciled Shorts tutorial. By using a stencil and your favorite colored paint, you can instantly transform an old pair of shorts, a tee shirt, or even a backpack or jacket into something brand new. In this tutorial, you'll learn how to transform a pair of white work-out shorts into a cute pair of summer shorts your little girl will love showing off. With a cute flower adding a touch of style to these shorts, this project is sure to be one that will have all the girls talking!
Time to CompleteOne hour
MaterialsFabric Crafts, Painting & Coloring
Age GroupPre-Teens, Teens
Materials:
- Shorts
- Stencil of your choice
- Repositionable spray adhesive
- Old magazine
- Fabric paint
- Foam paint brush
Video Tutorial: DIY Stenciled Shorts:
Instructions:
- Place a barrier between the fabric in the leg of the shorts.
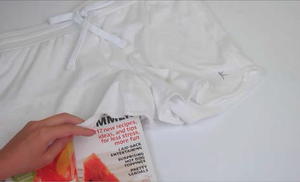
- Spray the back of your stencil with repositionable spray adhesive. Let it sit for about a minute.
- Place the stencil down on the shorts where you want the design.
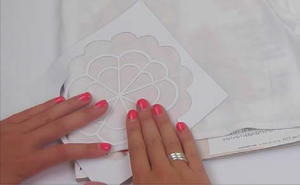
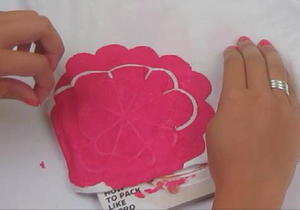
- Add a little paint to the foam brush and pounce it in open areas of the stencil. Make sure not to drag the paint brush so that the paint does not seep under the stencil.
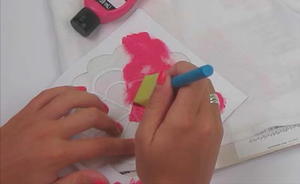
- Remove the stencil and allow it to dry for a few hours and wash the shorts before wearing them.
Find this project and more in our FREE eBook: DIY Fashion for Teens: 21 DIY Jewelry Patterns and Clothes Kids Will Love!


